I previously covered the many reasons I chose to use Next.js for this site of mine. One of the main reasons is SEO. Next.js offers several ways to fetch data and create static files that make it easy for web crawlers to scan page content. While Next.js does a fantastic job generating the front-end, it does not offer an admin panel to quickly write and manage page content. Next.js offers flexibility and can be used for many things, but is not comparable to WordPress or Drupal.
However, an easy-to-use admin panel is almost a must when creating content on a site.
ButterCMS fills this requirement with a beautiful, easy-to-use interface for managing different content. You can control the following through the ButterCMS dashboard:
- Blog posts
- Pages
- Collections - organize menu bar links
- Components - used as building blocks when creating a page
- Media - all your media files are in one place
I was interested in blog posts, pages, and managing media when working on this website.
Today, I will showing how to create static pages in Next.js that load content from ButterCMS.
If you'd like to skip the tutorial, click here to view the example code on Github. Otherwise, continue to follow along.
Assumptions
I'm assuming you already have a Next.js website setup and working. At a minimum you should follow the Next.js initial setup guide first.
Add Dependencies
Butter CMS has a single dependency that will add everything we need to load our content.
yarn add buttercms
Adding Our API Key to an Environmental Variable
Create a file at the root level of your project and name it .env.local.
Add the following to the .env file: BUTTER_CMS_API_KEY=<YOUR_API_KEY>
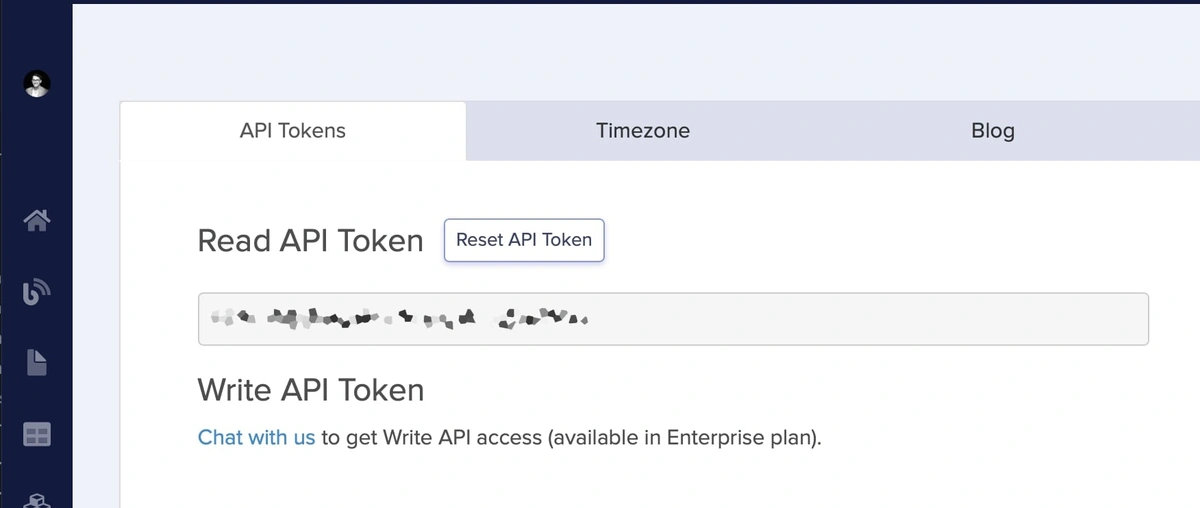
You can find your API key on the ButterCMS Settings page.
Creating Our Service Call File
This file integrates with our buttercms dependency to make API calls to get our data. This file will keep all the API call logic out of our pages.
Create a file and call it cms.js. Put the file into a folder called /services in our root directory.
import Butter from 'buttercms';

const butter = Butter(process.env.BUTTER_CMS_API_KEY);

// Pull in content for a single page by name
export const getPage = async (name) => {
  try {
    const response = await butter.page.retrieve('*', name);

    return response?.data?.data
  } catch (error) {
    throw error.response.data.detail
  }
};
This file is pretty straightforward. We're importing buttercms, initiating it with our API key loaded from .env.local, and finally, we export a function that gets our data.
Note: We can use this same file to add additional functions that pull in blog posts, categories, tags, etc.
Populating a Page With Content
Now let's create a page. For this example, create a file called about.js and put it into our /pages folder. The /pages folder is a standard Next.js folder used to generate page routes.
In our about.js file, we'll export getStaticProps in addition to our default about page export.
import { getPage } from '../services/cms';


const About = ({ content }) => (
  <>
    { !content && <p>No page content available.</p> }

    { content && <div dangerouslySetInnerHTML={{ __html: content }} /> }
  </>
);

export const getStaticProps = async () => {
  try {
    const content = (await getPage('about')).fields.content;

    return {
      props: {
        content
      }
    };
  } catch (error) {
    console.error(`Couldn't load content.`, error);

    return {
      props: { content: null }
    }
  }
};

export default About;
As you can see above, we import the getPage function that we added to the /services folder. Doing so will allow us to load the about page content from ButterCMS. We'll add an export of getStaticProps to our about page. Within getStaticProps, call the getPage function and pass the parameter about into the function . We're using getStaticProps so that Next.js loads our ButterCMS content server side and returns a static page. Being static allows web crawlers to quickly and easily index the page.
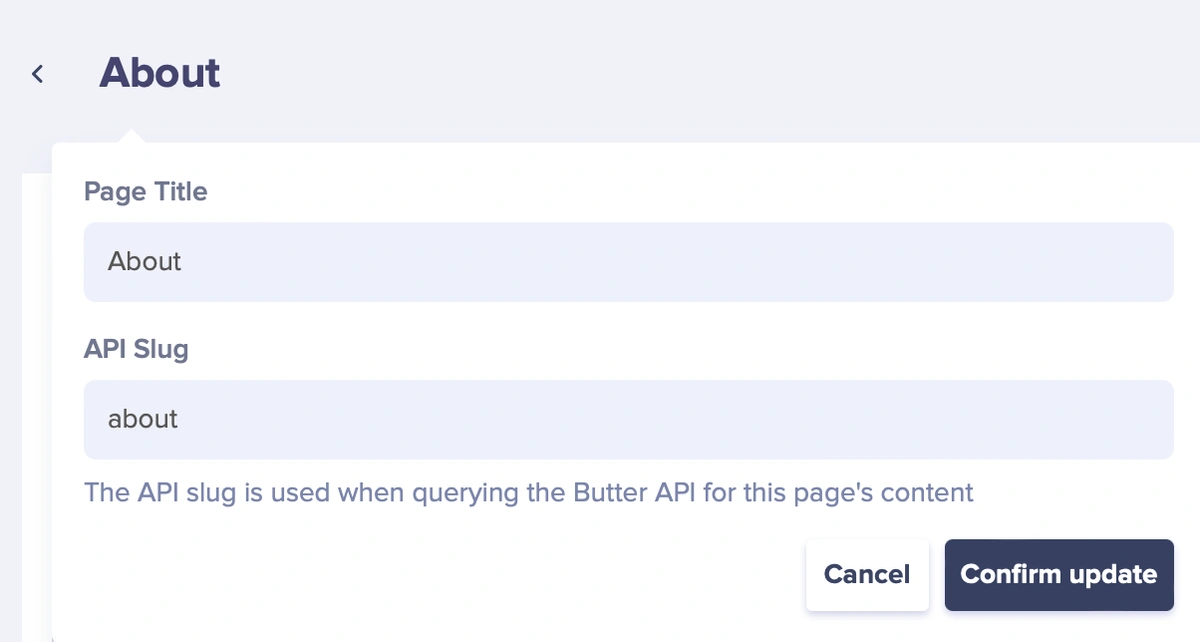
Add an About Page to ButterCMS
Make sure you add a new page using ButterCMS and give it an API Slug of about.
Test Locally
Finally, run yarn dev in your dev terminal and open localhost:3000/about in a browser. You should see your page content from ButterCMS loaded onto your about page.
Next Steps
With not much code, we've integrated ButterCMS into our Next.js site. Our implementation uses getStaticProps, so Next.js generates static files for us.
If I were making a website (like the one you're on 😉), my next steps would be to load a list of blog posts and show some previews. Then, write code to generate a unique page for each post. There are functions to easily do that. ButterCMS also has functions to pull categories and tags, and there are even functions that return Atom and RSS feeds (I have an RSS feed link down in the footer). These features are straightforward to integrate, and the implementation will look similar to our getPage function found in the services/cms.js file.
To get started with the additional functionality, head over to the ButterCMS documentation.